Mocopi and iPhone Live Capture
Sony Japan recently released their Mocopi motion capture system which uses six IMU sensors on elastic straps (wrists, ankles, head, hip) to capture body movement in a consumer-friendly package.
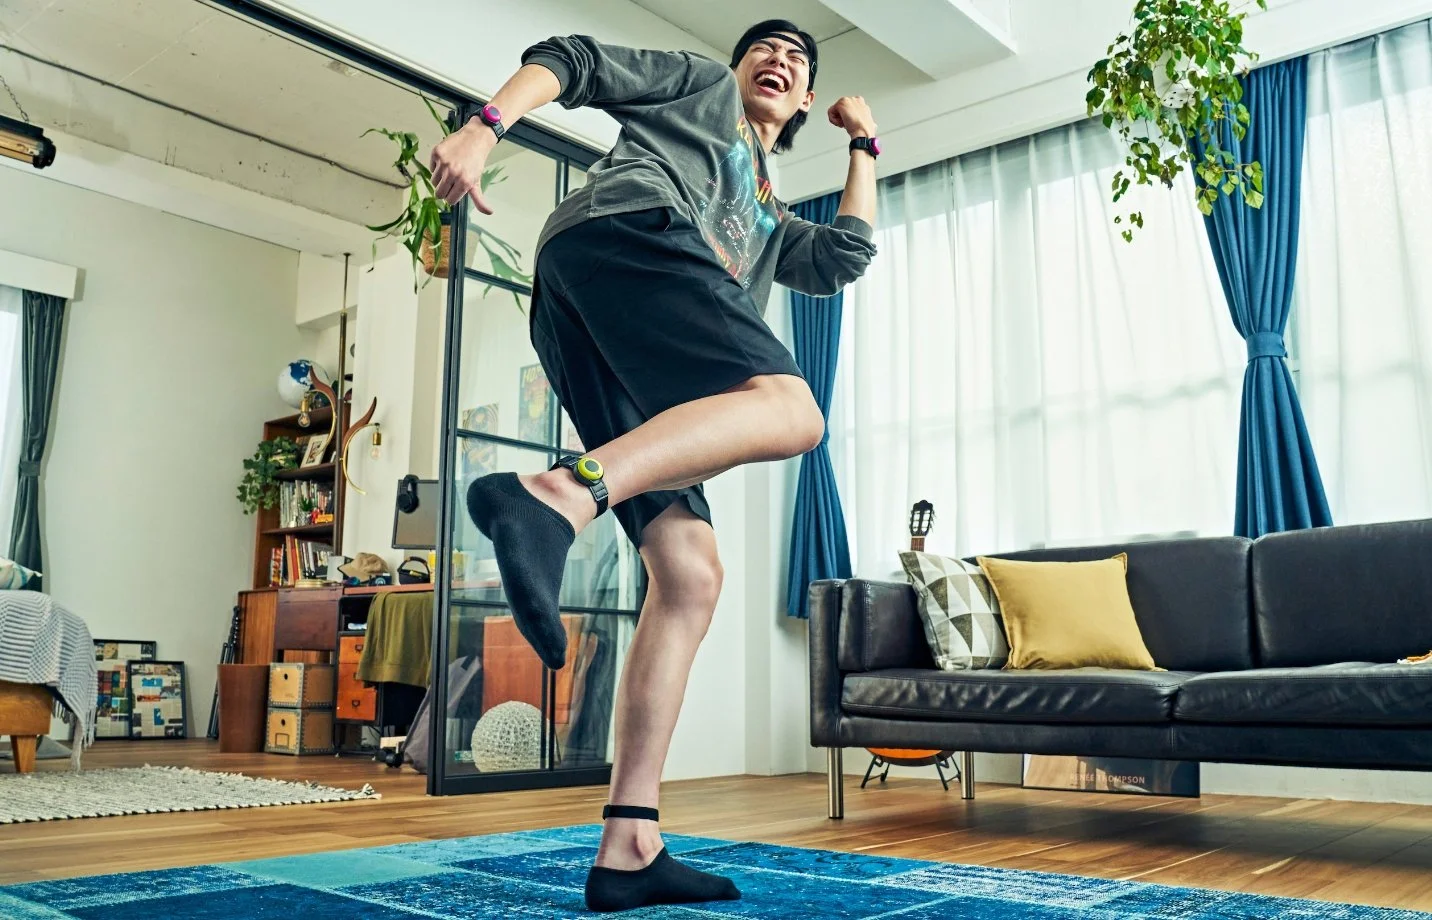
From Sony’s Mocopi website
The system is designed to attach to the capture subject’s body and wirelessly transmit the movement data to a cellphone via the Mocopi app. Currently (January 26, 2022), the only way to collect the Mocopi data is using Sony’s app via the Japanese Google Play or Apple App Store. Sony has announced an upcoming release of their SDK which should allow for third-party data transmission techniques.
As I own the Mocopi system and have downloaded the app, I figured this would be a good opportunity to do some testing and see what is possible using currently-availble software.
Using the Mocopi System

Sony’s Mocopi app on Android is excellent, a fully streamlined experience with only the info you need to get the job done. When first launching, you’re prompted to pair each of the six Mocopi sensors according to where you’ll wear them. After the pairing process is done, you’ll place the sensors into their elastic strap or clip housings (also different configurations/lengths for each of the wrists, ankles, head, and hip clip). Finally, you’ll leave them stationary on a desk to calibrate before donning them and going through a quick and simple motion calibration process.
Altogether the setup should take about 5-10 minutes at the most, it’s a wonderfully simple process.
At the top of the app there are two tabs to select: Video and Motion. The Video tab allows you to record a video (.MP4 1080p Vertical) using models uploaded to the app. The Motion tab permits motion data capture, either recorded locally (.BVH) or streamed to a computer (more on that later).
Computer-streamed motion data is transmitted over wifi using either the UDP protocol (Mocopi-specific) or in the .BVH / OSC format (general use/VRChat).
Note: Sony recommends turning off 2.4G wifi signals as they may interfere with the Mocopi/phone connection which operates in the 2.4G Bluetooth band. 5G wifi or greater should reduce signal issues and increase the reliability of the data being streamed.
A “VTuber” Setup
To test the live streaming abilities, I made a 3D model using Pixiv’s VRoid Studio. I recommend using VSeeFace to combine iPhone face tracking data with the Mocopi data stream. VSeeFace provides guidance on converting VRoid Studio models using Unity and a few plugins to work with face tracking tech.
Once the model was rigged, I threw it into VSeeFace and tested my iPhone’s front TrueDepth sensor and found iFacialMocap worked best with native support for the app.
For the Mocopi data, there aren’t many options out yet- however, an experienced developer sh_akira has developed a piece of software called VirtualMotionCapture and has added support for direct UDP (Mocopi native) data streaming. The best way to combine the face and body tracking data is using the “premium” version of VMC which is available at sh_akira’s Pixiv Fanbox when you support them (~300 yen/mth).
Note: At the time of writing (January 26th, 2023) only sh_akira’s PIXIV FANBOX has the updated VMC version supporting Mocopi, not their Patreon.
In VirtualMotionCapture, you’ll want to set your Mocopi’s output IP address to your computer, and the port according to VMC’s settings (settings > Mocopi). Then, with the premium version of VMC, you can enable .OSC output from VMC which sends the body movement data to another app on your computer. Opening up VSeeFace, you can add the VMC data in settings by enabling .OSC input and setting it to the same port as VMC’s output.
Congratulations! You should now have a working 3D model with Mocopi body tracking and VSeeFace facial expression movements. I plan to do a detailed step-by-step write up of my experiences soon so keep an eye out for that. This was meant as a quick point of reference to those as interested as I was.
Happy tracking!
Armaan
Recording of the free version of VMC’s output.
I connected VSeeFace as a source of facial expression, but VMC wasn’t able to keep up with details like my eyes moving.
The lighting also can’t be changed, sending the “premium“ VMC data to VSeeFace provides a much better tracking and rendering experience.